The driver behind creating this wall is the need to create a small utility room next to the kitchen, achieved by walling off a small area. So while I'm at it I might as well save some effort and use it to cover up the mess left by taking out the old bathroom, and its cupboard and tiles. I decided to use a steel framework rather than wood, for no good reason other than that I've not done it before and it seems to be the way it's done these days. So it's off to the DIY shop, buying the placo (plasterboard) and the steel rails (horizontal, attached to the floor and ceiling) and montants (vertical supports for the plasterboard, attached to the rails). Getting them home in the lorry was a new experience too, but I managed to keep the thing on the road, even though it didn't corner very well.
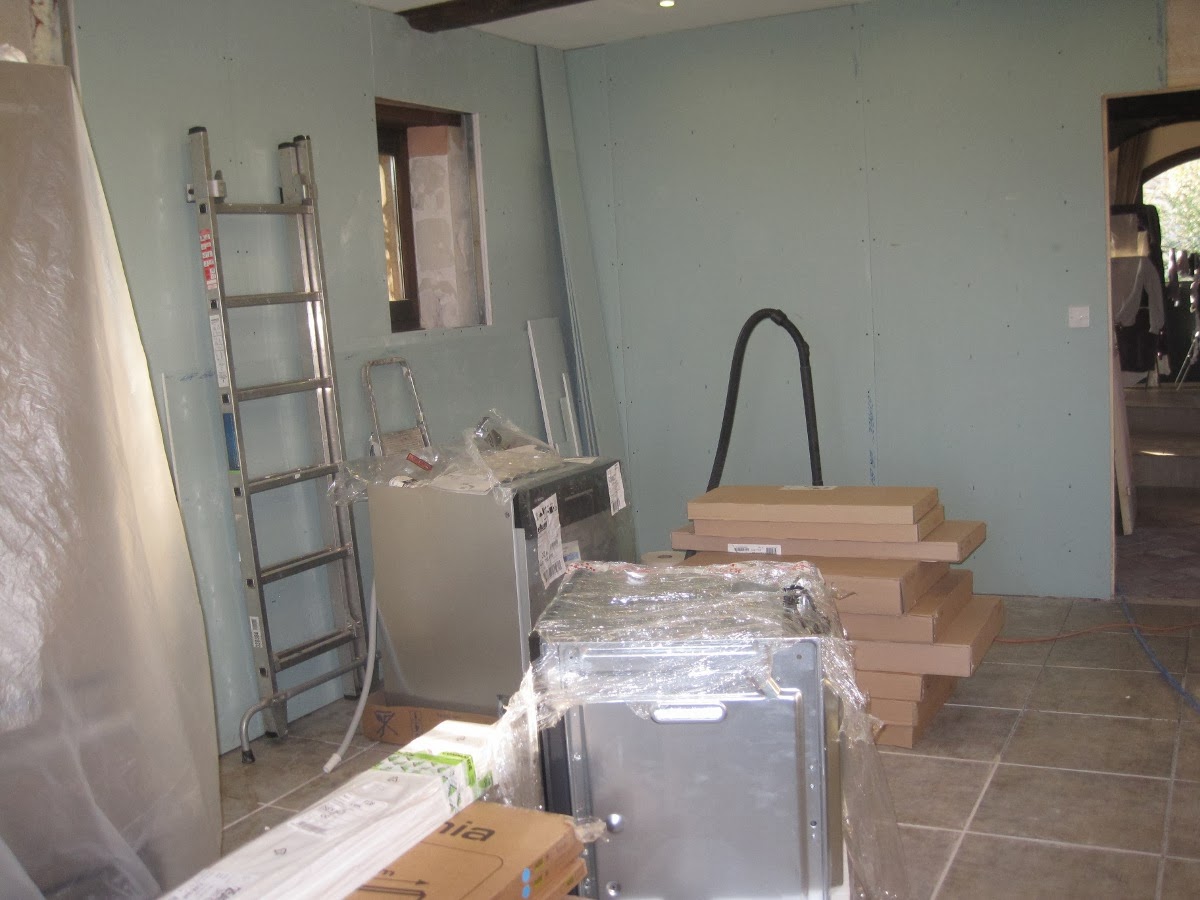
The steel frame parts attach to each other by means of a tool that cuts an oblong hole, bending the metal back to hold the parts together. It doesn't need much force to get them to separate, but the plasterboard, once attached, gives the whole thing a surprising rigidity. Although, I suppose, the wall hasn't not fallen down yet. There was a deadline to the work too, since the plasterboard sheets had to be off the floor to make room for the kitchen units being delivered next week. Here's the plasterboard waiting on the floor alongside the steel frame, and the first framework to hide the nasty remains of the old bathroom wall and tiles. (The monstrosity covered in plastic is the new American-style fridge, waiting to fulfill its purpose in life)


After the support for the new outside wall, the framework for the wall to separate off the utility room can go up. And once the frameworks are in place, the plasterboard can go up. Here's the framework for the separating wall, and finally, the two walls with the plasterboard in place. The end result feels solid and hides a multitude of sins.

The vertical edges of the plasterboard sheets are tapered, giving you some space to cover the join with paper to be held in place with filler. (So it doesn't get visible cracks.) So always ensure that any cut edges of plasterboard are at the ends of the wall and nowhere in between. Oops.


1 comment:
And when you put plasterboard on the ceiling did you have one of these gadgets that holds it in place or did you have someone standing there with a broom like the rest of us....
Post a Comment